The VMware vCloud Availability solution provides replication and failover capabilities for vCloud Director and vCenter Server workloads at both VM and vApp level.
Before you start to setup the On-Premise side vCAV 3.0 components, please check here first for the On-Premises requirements, also you need to verify you’ve done the following tasks:
-
Verify that the on-premises vCloud Availability appliance is installed through the on-prem deployment type.
-
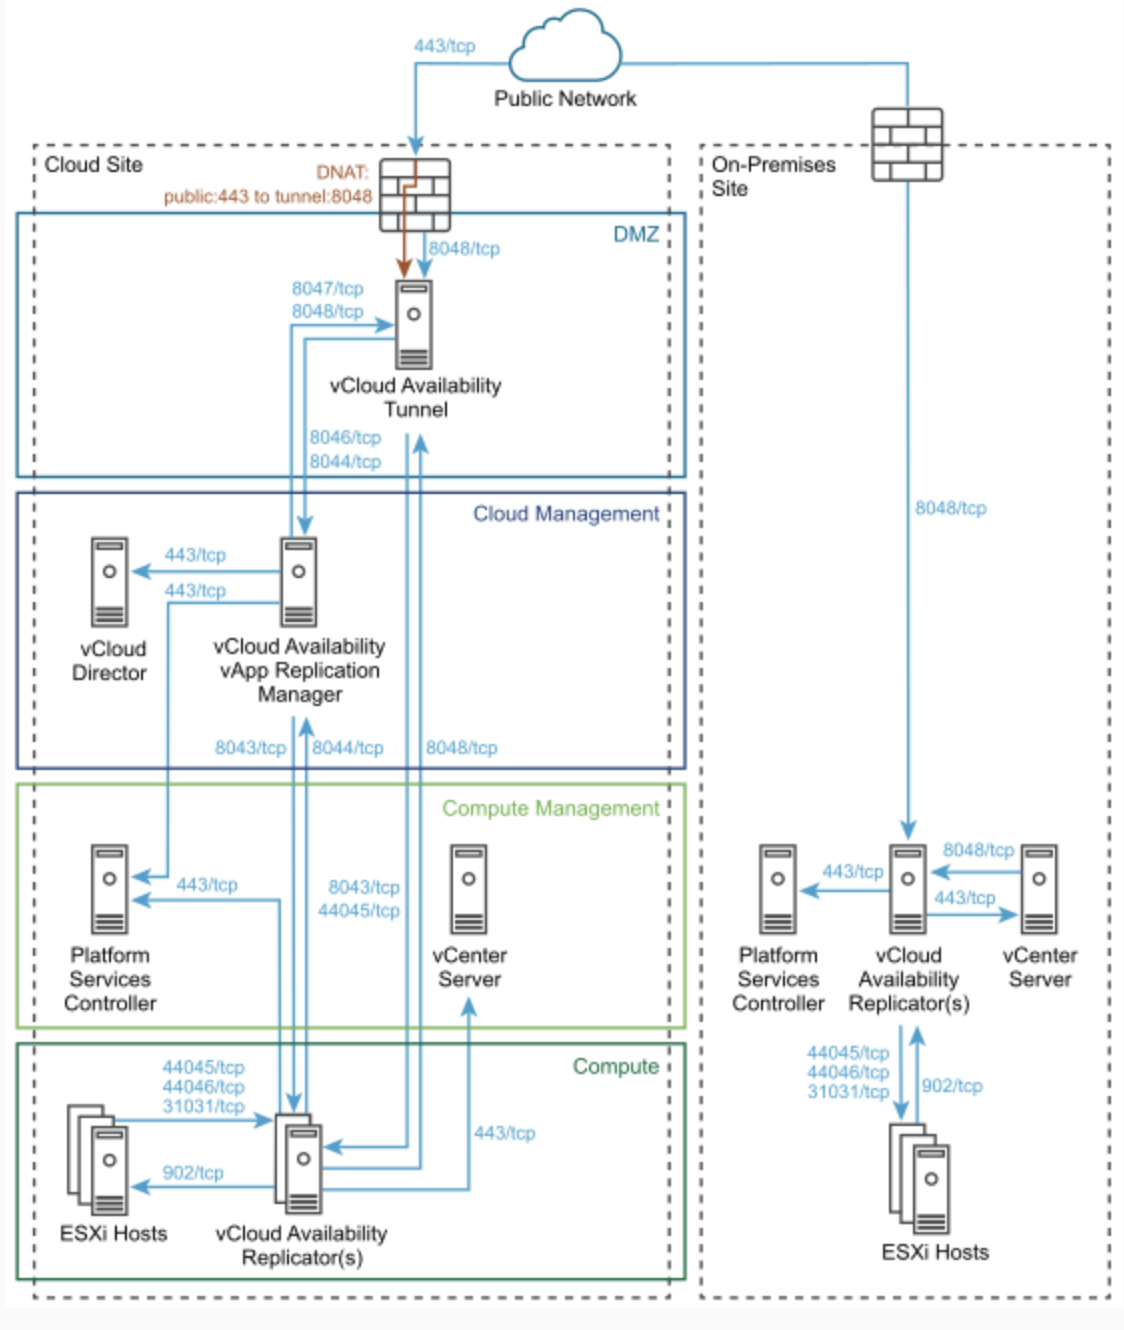
Verify that your cloud vCloud Availability appliance is configured with the vCloud Availability Tunnel appliance.
-
Verify that vCloud Availability Replication Manager, vCloud Availability vApp Replication Manager and vCloud Availability Replicator services are fully configured in the cloud site.
-
Run a replication from one cloud site to another cloud site to verify that the cloud site you are pairing the on-premises with is configured properly.
-
Verify that a replication policy is enabled for the cloud organization the on-premises appliance pairs with.
- Make sure you have the required firewall ports opened.
You can download the OVA package here.

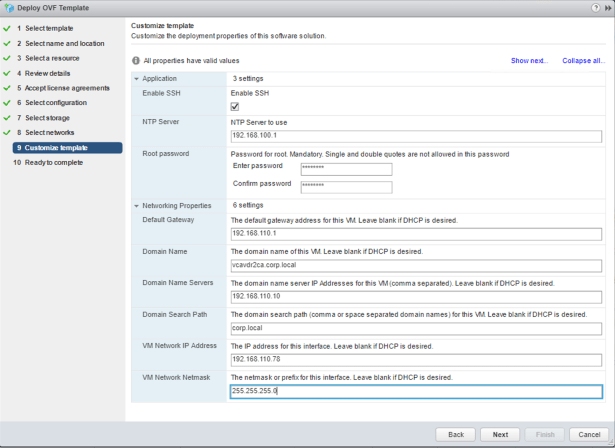

After creating the VM, In a Web browser, go to https://On-Prem-Appliance-IP address/ui/admin.
In my case, https://vcavdr2ca.corp.local/ui/admin
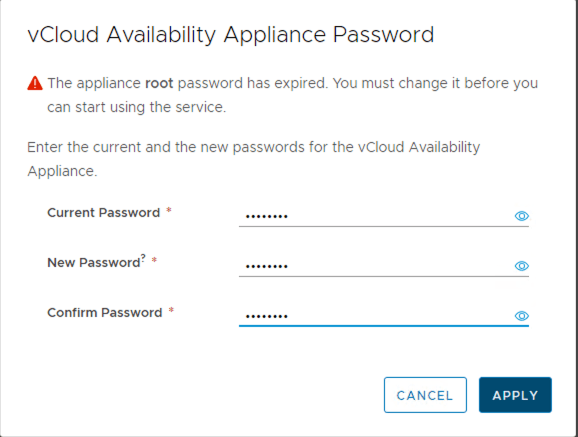
You need to change the password when first login into this page for security reason.
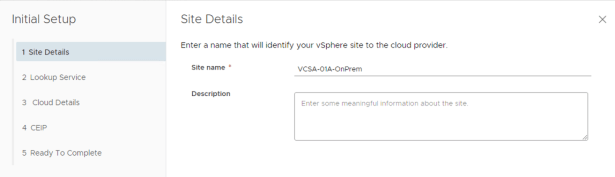
Click Run initial setup wizard.

Specify the site name
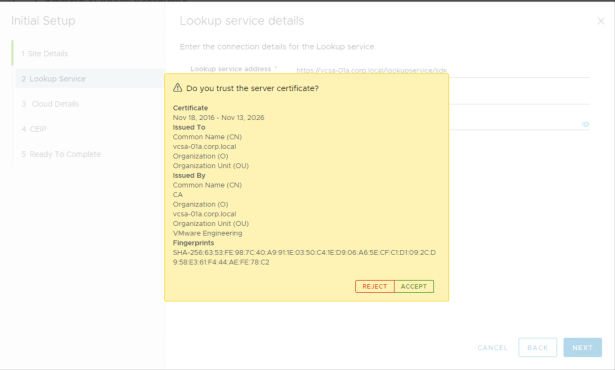
Enter the Lookup-Service-IP-address, the single sign-on user name and password, and click Next.

Accept the certificate.
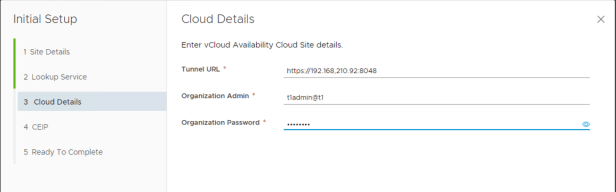
Setup the connection details for the cloud organization the vCloud Availability on-premises appliance is going to pair with.
- Enter the vCloud Availability Tunnel URL in following format: https://vCloud Availability Tunnel-IP-address:8048.
- Enter the vCloud Director user@org user namer and password.
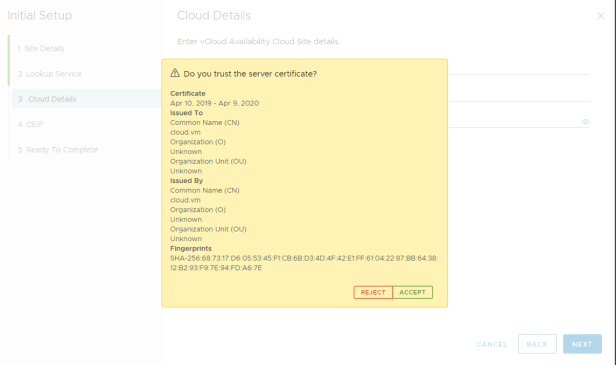
Accept the certificate again.
Click the “Configure local placement now” slidding bar.
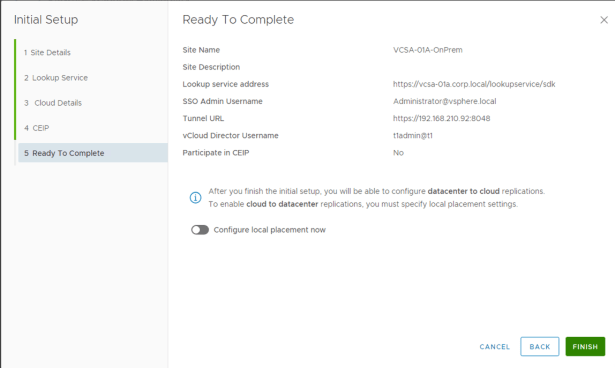
To enable cloud to on-premises replications, you must specify local placement settings, this is where to indicate the system to put your recovered VM to.
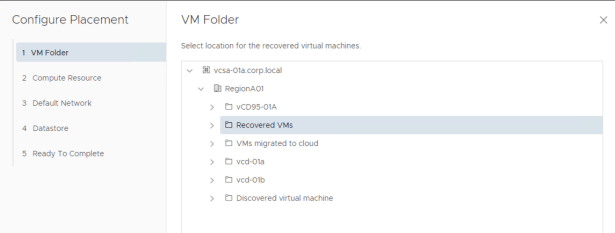
Select resource pool.

Select Network

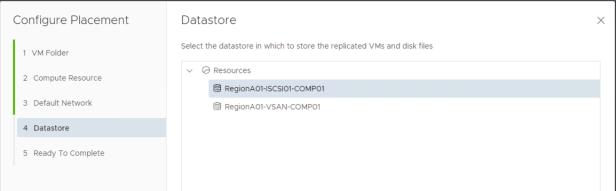
Select Datastore.
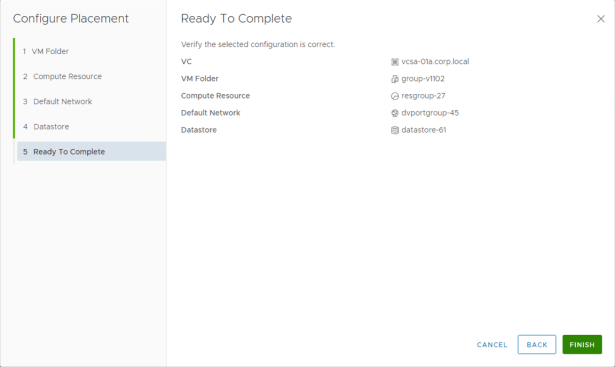
Review and click “Finish”
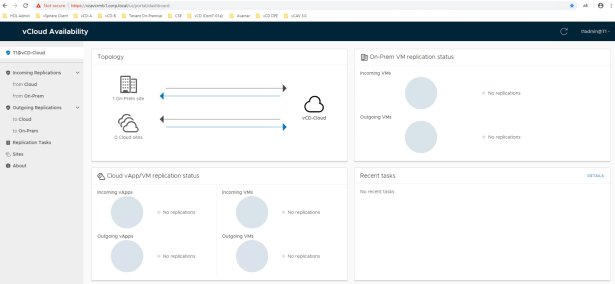
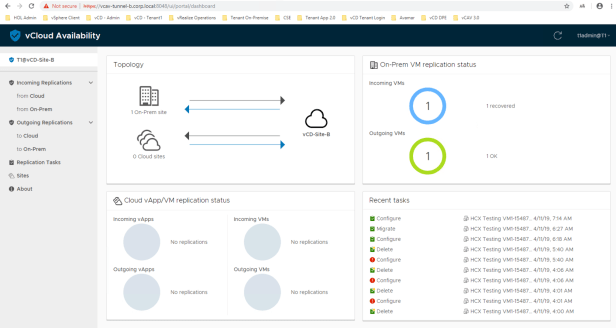
You can check the overall system health status by checking in the Replicator UI.
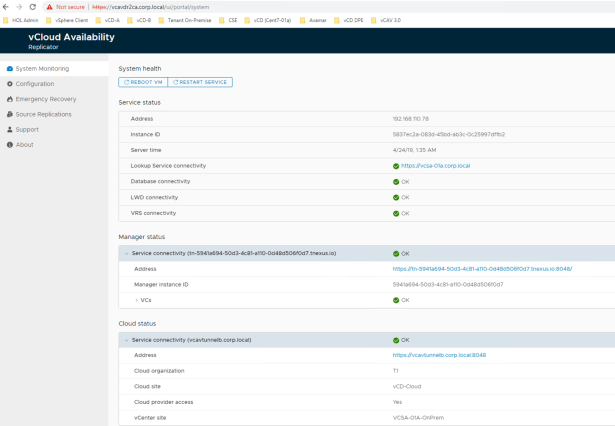
Log in to vCAV user cloud portal, https://<vcav-CRM-IP>/ui/login, to check if everything is running O.K.
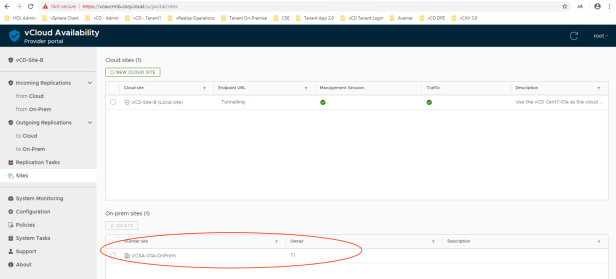
Also from Provider UI, you can now see a new On-Prem Site appears as below.
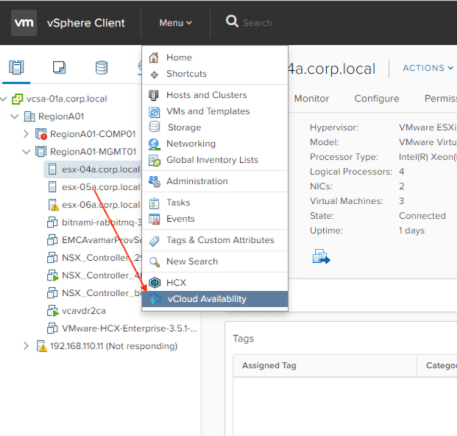
Access vCloud Availability GUI
You can now start creating and managing VMs’ replications/protections tasks by following GUIs:
-
The on-premises vCloud Availability plug-in from the vSphere Client with vCenter Single Sign-On admin credentials. (I’m using vCenter Server 6.5 U2)

- Directly from vCloud Director’s HTML5 GUI (integrated vCD GUI extension)

-
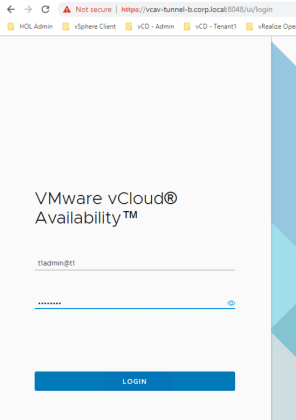
The cloud portal https://tunnel-on-cloud-site-IP-address/ui/login with organization administrator credentials.
Tenant administrators can perform replication jobs and to migrate or to failover their workload between on-prem site and the cloud site using the portal which their cloud provider have provided to them without the need to login to vSphere Client.

How to remove vCenter Plugin
if you need to remove the on-premise vCAV, you first unpair your site mapping with the cloud site, you can also perform the following steps to unregister your vCAV plugin with your vCenter Server. (thanks my colleague, Bill Leck, who helps me for this part)
- ssh into the VC.
execute “rm -rf /etc/vmware/vsphere-ui/cm-service-packages/com.vmware.cis.vsphereclient.plugin/com.vmware.h4.vsphere.client-3.0.0 /etc/vmware/vsphere-ui/cm-service-packages/com.vmware.cis.vsphereclient.plugin/com.vmware.h4.ngc.client-3.0.0” - if your VC is 6.5, execute “service-control –stop vsphere-ui”, followed by “service-control –start vsphere-ui”
if your VC is 6.7, execute “vmon-cli -r vsphere-ui” - execute “/usr/lib/vmidentity/tools/scripts/lstool.py list –ep-type com.vmware.vcav.endpoint –url http://localhost:7080/lookupservice/sdk 2>/dev/null”
- execute :/usr/lib/vmidentity/tools/scripts/lstool.py unregister –url http://localhost:7080/lookupservice/sdk –user ‘<SSO User>’ –password ‘<SSO User password>’ –id <ID of vcav service identified by list command> 2>/dev/null”


This concludes the installation and configuration steps of the vCAV 3.0 Tenant On-Premise side setup, I hope this blog helps you a little bit when paring your on-premise site to the cloud site, thanks!
Notes:
- Please visit VMware official vCAV 3.0 documentation here for detail On-Premises installation steps.
