What is Dell EMC vCloud Director Data Protection Extension?
From here, we know this solution provides “Data Protection as a service” for VMware Cloud Providers, it provides cloud providers who are leveraging vCloud Director as their Cloud Management Platform the capability to offer truly multi-tenant data protection services to their customers.
From the solution brief, it provides tenants the following benefits:
- Seamless Tenant Experience
Tenant users can directly managethe Data Protection Service from their vCloud Director Portal thus eliminatingthe need for multiple consolesand simplifying the overall user experience.
- Backup
Image-level protection offers backup of vApp and/or individual VMs.Flexible backup options enable backups to be run automatically through policies and/or on-demand.
- Restore
From the vCloud Director Tenant Portal, end-users can restore individual VMs or vAppsin-place or restore to new instances. Tenants can also restore individual filesto their running VMs.
- Policy and repository assignment
- Cloud Providers define backup policy templates and publish these as policies to individual tenant catalogues and make them available to tenants. Policy templates are a combination of schedule, frequency, and retention period.
- Cloud Providers can configure multiple backup repositories (Avamar and/or Data Domain systems) and can assign these to tenant virtual data centers. Replication between repositories can also optionally be configured.
- Cloud Providers can set tenant quotas on individual repository capacities and/or they can define quotas on a per-policy basis on front-end protected capacity.
- Tenants can assign a default policy to a virtual data center and can override this default with specific policy assignments to vApps and stand-alone VMs.
Now in this blog, I’d like to walk you through the major installation steps required to test this solution. (notes: this is a very high level introduction, you may contact Dell EMC or VMware team for detail solution architecture design for your production environment)
Sample Architecture
The following architecture is from Dell EMC official manual (I’m using “Dell EMC vCloud Director Data Protection Extension Version 18.2”), cloud providers have vCloud Director in the left hand side, and may have already had Dell EMC Avamar environment in the right hand side (the resources needed to store the backup data).

Components List


Avamar prerequisites
Complete the following Avamar prerequisites before you install the software:
- Register the management and resource vCenters with the Avamar servers by using fully qualified domain names.
- Install or deploy Avamar or AVE servers and any corresponding Data Domain systems are installed, with supported software versions.
- Deploy image proxies within the resource vCenters that are compliant with the Avamar server software version.
- Register the image proxies with the associated Avamar servers.
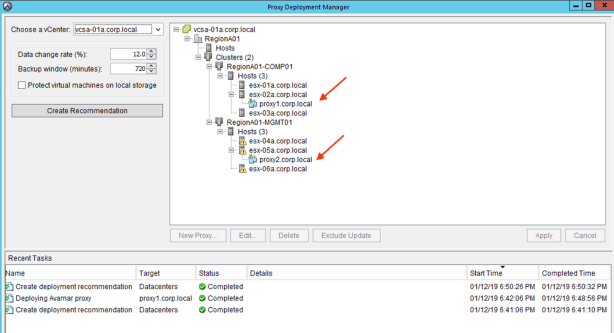
the proxy deployment manager will automatically suggest the proxy server needed in the resource environment, here I need to install two proxy servers to accommodate the system requirements.
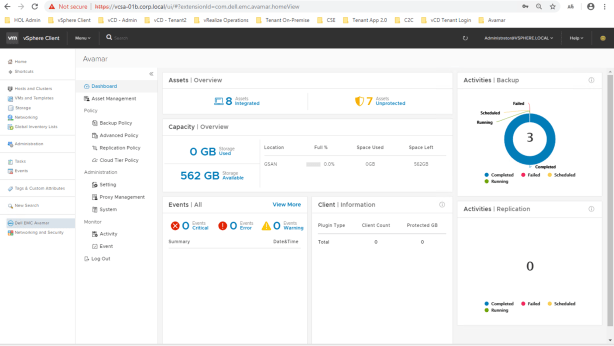
Check everything is O.K. in the Avamar GUI.

Login to vSphere Client and select “Dell EMC Avamar” section to see if vSphere Client can show information correctly.
Select “Asset Management” to see if you can see the VM.

Before you install the vCD DPE, perform the following steps:
- Log in to the Avamar server as admin.
- Using a Linux text editor, such as vi, open /usr/local/avamar/var/mc/server_data/prefs/mcserver.xml.
- Change the following line:
<entry key=”allow_duplicate_client_names” value=”false” />
to:
<entry key=”allow_duplicate_client_names” value=”true” />
4. Restart the Avamar MCS by typing the following commands:
dpnctl stop mcs
dpnctl start mcs

Deploy the vPA on the management vCenter
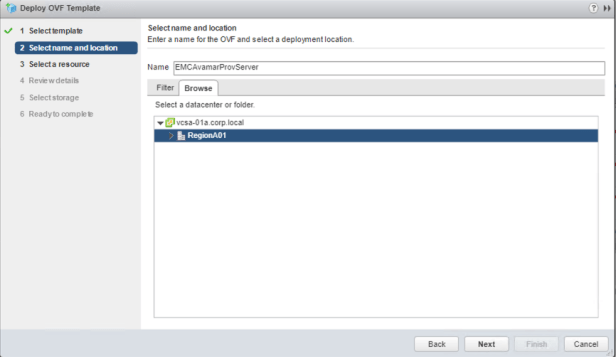
We first need to install the Provisioning Server Appliance, this server will deploy other VMs based on our deployment plan. (check the “prepare the deployment plan” section)
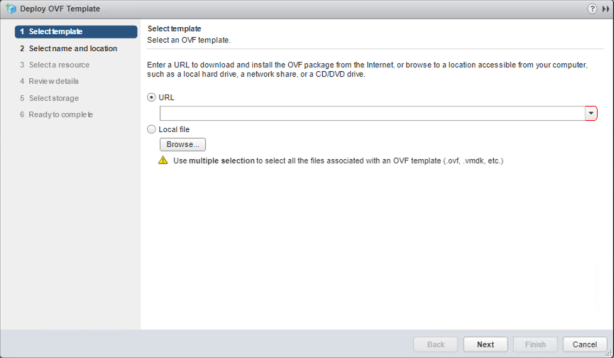
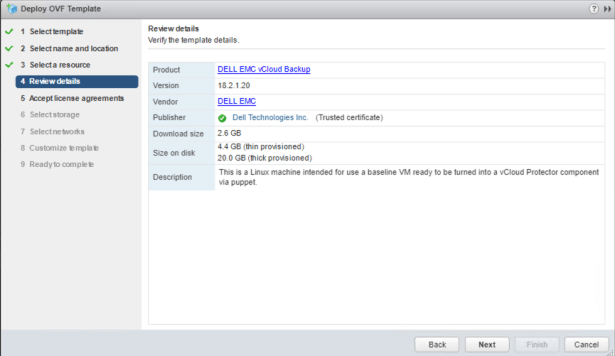
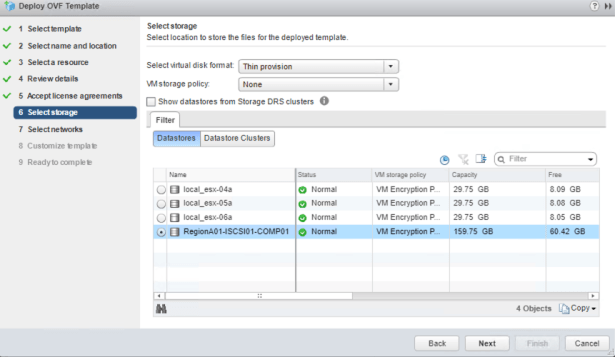
select the ova file to install.


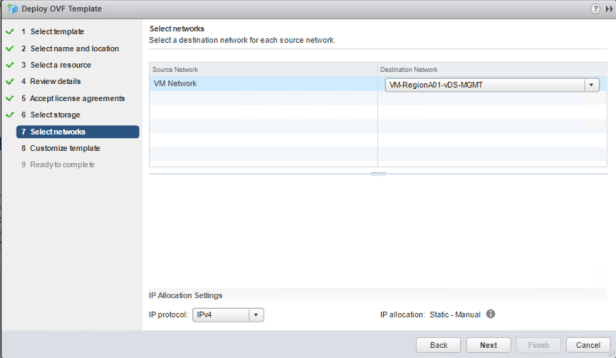

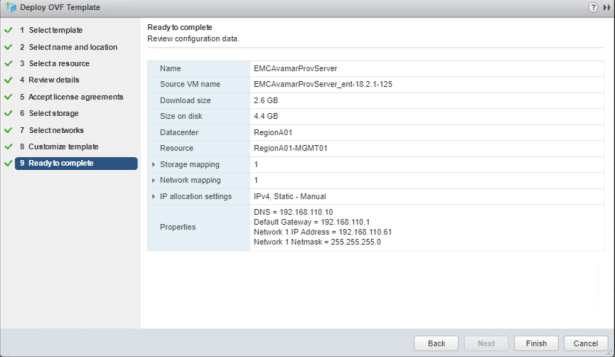
Input the DNS/GW/IP info.

Power on the vPA, install the necessary upgrade rpm.
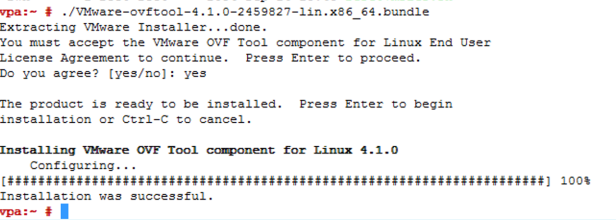
Install VMware components
After you deploy the vPA, install the VMware OVF tool and the VMware vSphere CLI on the vPA.
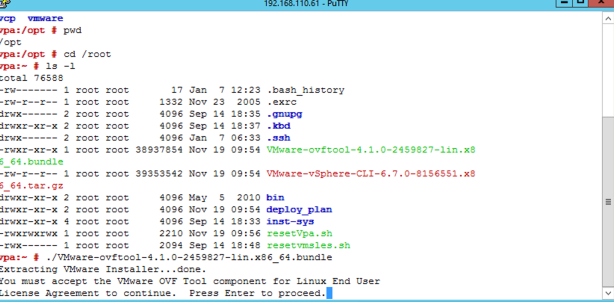
The following packages can be found in the /root directory on the vPA:
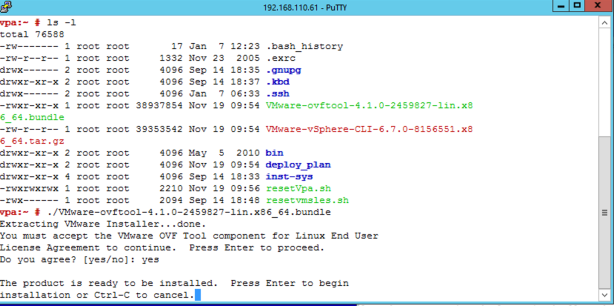
- VMware-ovftool-4.1.0-2459827-lin.x86_64.bundle
- VMware-vSphere-CLI-6.7.0-8156551.x86_64.tar.gz
login to vPA using root and password is “changeme”

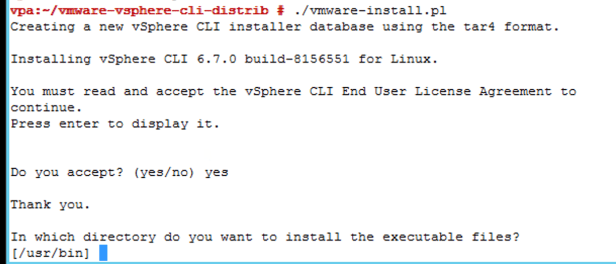
Install the VMware vSphere CLI
a. Extract the tar file:
tar -xzvf VMware-vSphere-CLI-6.7.0-8156551.x86_64.tar.gz

b. Change directory by typing the following command:
cd vmware-vsphere-cli-distrib
c. Start the installer by typing the following command:
./vmware-install.pl

d. Review and accept the terms in the EULA for the VMware vSphere CLI.

Prepare the deployment plan
- Log in to the vPA as the root user.
- Change directory by typing the following command:cd /root/deploy_plan/
- Make a copy of the sample deployment plan by typing the following command:
cp deploy_plan.conf.sample deploy_plan.conf
- Provide write access to the deployment plan by typing the following command:
chmod a+w deploy_plan.conf
- Using a Linux text editor, such as vi, open the deployment plan and provide configuration values for all required fields.
Notes: The management tool deploys the RabbitMQ and PostgreSQL servers on the same VM. Ensure that the deployment plan contains the same IP address and fully qualified domain name for the RabbitMQ and PostgreSQL servers.
Perform an all-in-one deployment
- Log in to the vPA as the root user.
- Change directory by typing the following command:
cd /root/deploy_plan
- To start the deployment process, type the following command:
vcp-management-tool --deploy
The management tool encrypts the configuration file to protect your credentials. When you run the management tool for the first time, set a masterpassword. This password is required for performing other operations, such as upgrading the software.
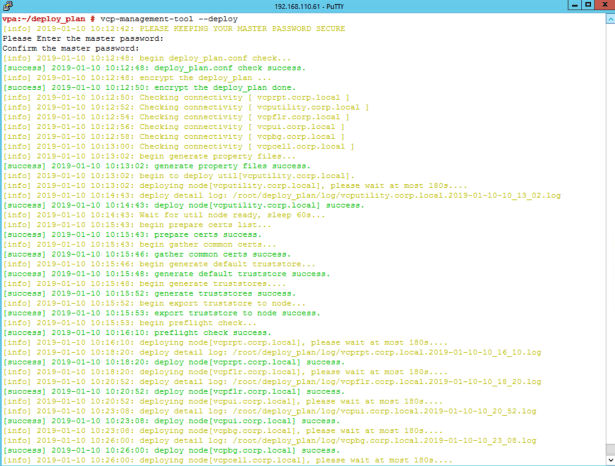
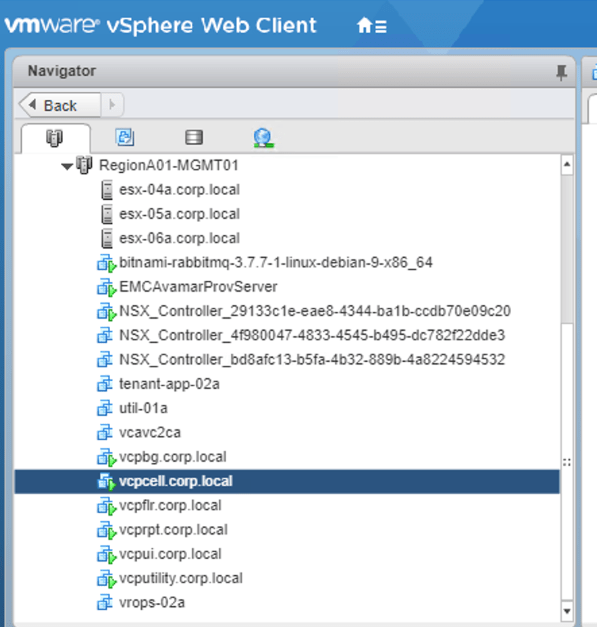
You will see some VMs have been created, make sure you have enough compute/storage to install and power on those VMs.
-
- Configure the AMQP settings for the RabbitMQ server in the vCloud Director UI: a. In the vCloud Director UI, browse to System > Administration > System Settings > Extensibility. b. Configure the AMQP settings.
- Restart the services: a. Log in to the cell node as the root user. b. Type the following commands:
  service vcpsrv stop
  service vcpsrv start
c. Log in to the UI server node as the root user.
d. Type the following commands:
  service vcpui stop
  service vcpui start
Install the UI plug-in on vCloud Director
- Log in to the vPA as the root user.
- Change directory by typing the following command:cd /root
- Create a directory by typing the following command:
mkdir plugin_temp
- Change to the new directory by typing the following command:
cd plugin_temp
- Copy the UI installer to the new directory by typing the following command on one line:
cp /srv/www/htdocs/emcvpa/tools/cpsh/vcd-ui-installer-*.jar ./
- Copy the UI extension to the new directory by typing the following command on one line:
cp /srv/www/htdocs/emcvpa/yum/sles11/vcp/x86_64/vcd-ui-extension-*.zip ./
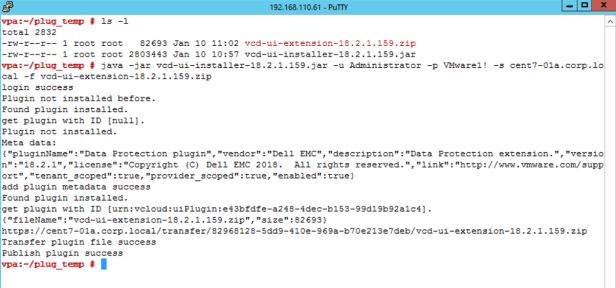
- Install the UI plug-in by typing the following command on one line:
java -jar vcd-ui-installer-version.jar -u vCD_admin_user –pvCD_admin_password -s vCD_cell_FQDN -f vcd-ui-extension-version.zip
where:
- version is the UI installer or UI extension version string for the packages that you copied in previous steps.
- vCD_admin_user is the username for the vCloud Director administrative user.
- vCD_admin_password is the password for the vCloud Director administrative user.
- vCD_cell_FQDN is the fully qualified domain name or IP address for the cell. Wait for the installation to complete.
- Change directory by typing the following command:cd ..
Remove the new folder and its contents by typing the following command:
rm –rf plugin_temp
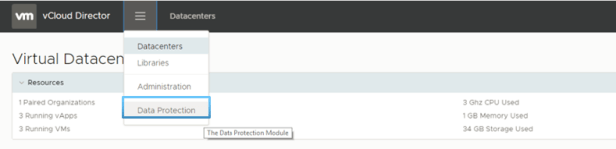
After installation completes, Data Protection appears as an additional item in the vCloud Director navigation panel.
Next blog I’ll introduce how to use the data protection service from tenant’s perspective, hope this blog helps, thank you.
Notes:
- if you are installing the vCP 18.2 version and using vCD 9.5, you’ll need to apply one hotfix from Dell EMC, emcvpa-18.2.1.999.3.rpm, which provides the ability for vCP to compatible with vCloud Director 9.5.
- Dell EMC data protection extension for vCloud Director solution information in VMware Solution Exchange is here.
